Twas the week before Christmas, and I was seriously stuck for something to get my son. Ok, Santa was all sorted with his gifts (he started with Amazon pre-orders back in June, the super organised fella that he is!) but I wanted something for under the tree for baba from my hubby and I. As any reader has probably already guessed, I love making stuff for him, so with that in mind and the fact that he was going to be getting tonnes of other toys between the jolly old St Nick and our extended families, I decided his present was going to be home made. Now, as I said, twas the week before Christmas, so I wasn't going to have time to make garments, but I figured I'd be able to knock out a decent toy for him in under a day and chose to make an Angry Bird.
I picked Red Bird because his basic shape would be the easiest to figure out - he's essentially a ball. The beak and stuff were going to be slightly more complicated because I didn't have a pattern. Now there are hundreds of Angry Bird crochet and knit patterns out there in internet land but honestly, none of the ones I looked at really jumped out at me. Some had elements I liked but then other bits that I hated so I figured I'd wing it (no pun intended) and see how things went.
For the main body I just made one big sphere, now for this I did use a pattern - it's one I found on the internet a while ago on how to make a perfect amigurumi sphere, and it's amazing, the results are perfect every time. It's from Ms Premise Conclusion and she's actually got it as a free download on her site, which is really cool because she must have put an INSANE amount of effort in to figuring all of these out. I used the largest size pattern which was a 30 row sphere.
I wanted the body to be fairly substantial in size, about the size of a small football as opposed to maybe a baseball or tennis ball, so I used a 4.5mm hook and also two strands of yarn at the same time. This made the fabric nice and thick and also ensured that I could stuff it nice and firmly without having to worry that the stuffing would be visible between the stitches. When making the sphere, I find it easiest to crochet until you've got about 2 or 3 rows left, then stuff and continue crocheting. If it's starting to feel a bit loose as you're about to close the sphere you can work in a tiny bit more stuffing as you do the last round. NB: if you're using 'safety eyes' you'll need to attach these BEFORE you stuff and close your sphere.
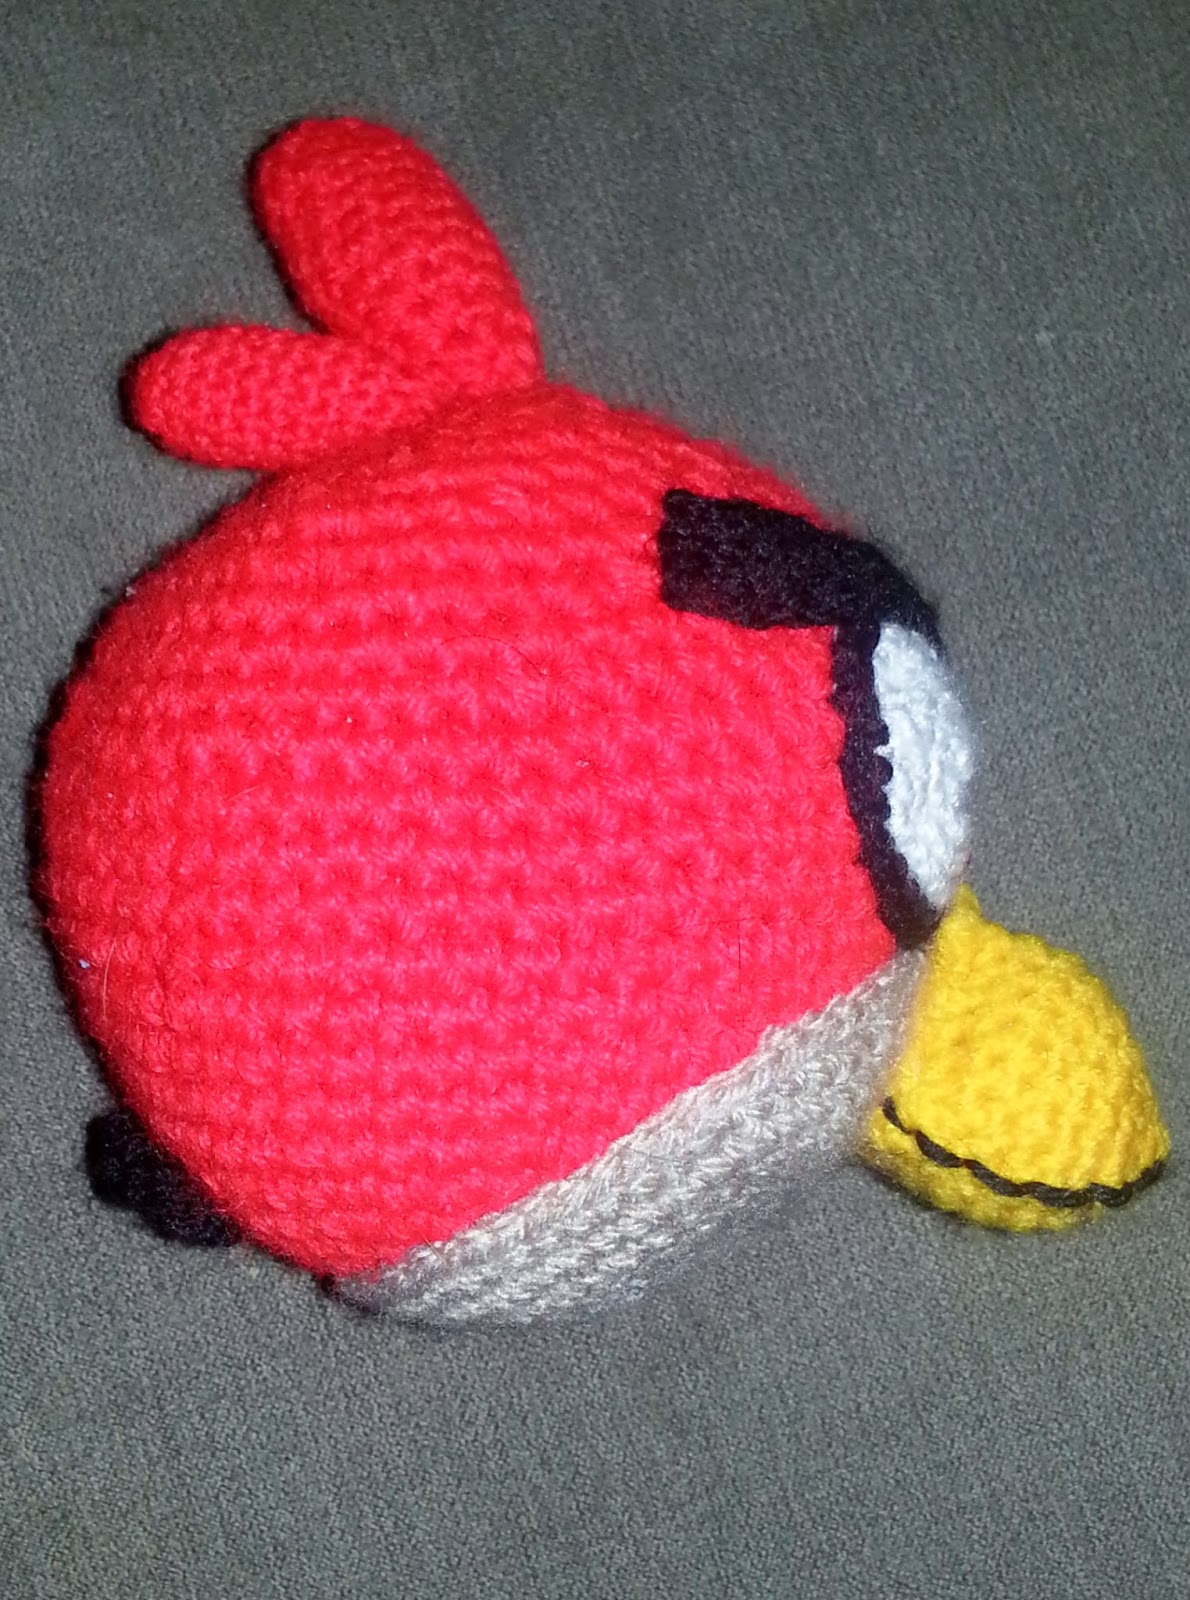
The whites of the eyes were fairly straightforward, they're just plain circles. I used white DK weight yarn and a 3.5mm hook, then I made two circles with 36 stitches around. To attach them I firstly positioned them on the body before it was stuffed and then applied the safety eyes going through both the 'eye' and the 'body' fabric. Then, after I'd stuffed and closed up the body, I took some black yarn and the same 3.5mm hook and worked a row of single crochet around each eye and then took a tapestry needle and used the black yarn to secure the edges of the eyes to the body. The eyebrows were just two pieces of 14 double crochets, and then I did another row of single crochet halfway along each of them to give the 'frowny' expression. They were also made using the 3.5mm hook.
To make the 'tummy' of the bird, I got some beige coloured yarn and just made a flat circle. To figure out how big to make the circle, I checked how many stitches the body had at the widest part and used that as a rough guide. My bird had 59 stitches around it's middle, and I wanted his 'belly' to be a bit smaller than that so I worked until my circle had a 54 stitch circumference. I attached the tummy after the body had been stuffed because it made it easier to hide the stitches holding it on.
The beak was a bit of a challenge, I couldn't figure out whether to do it two dimensional or three dimensional. I checked a load of patterns online and there seemed to be a fairly even split between both, so I actually made one of each and held it up on the bird to see which one I preferred. In this case I used the 3D one (as you can see) but I actually held on to the 2D one also because I'm planning to make an Angry Bird hat for my son and the 2D beak would be perfect for that. The 3D beak is basically just a cone shape, which I stuffed and then attached on with the yellow yarn. I got some black yarn and sewed up along each side to give it the illusion of being more pyramid shaped. I also did a bit of sewing at the top of the beak to improve the shape between the eyes.
For his weird little doo-dads on the top of his head I again used the 3.5mm hook and crocheted two 'tubes' that tapered off towards the end, one slightly shorter than the other. Then I put a teeny bit of stuffing inside them before I sewed them on.
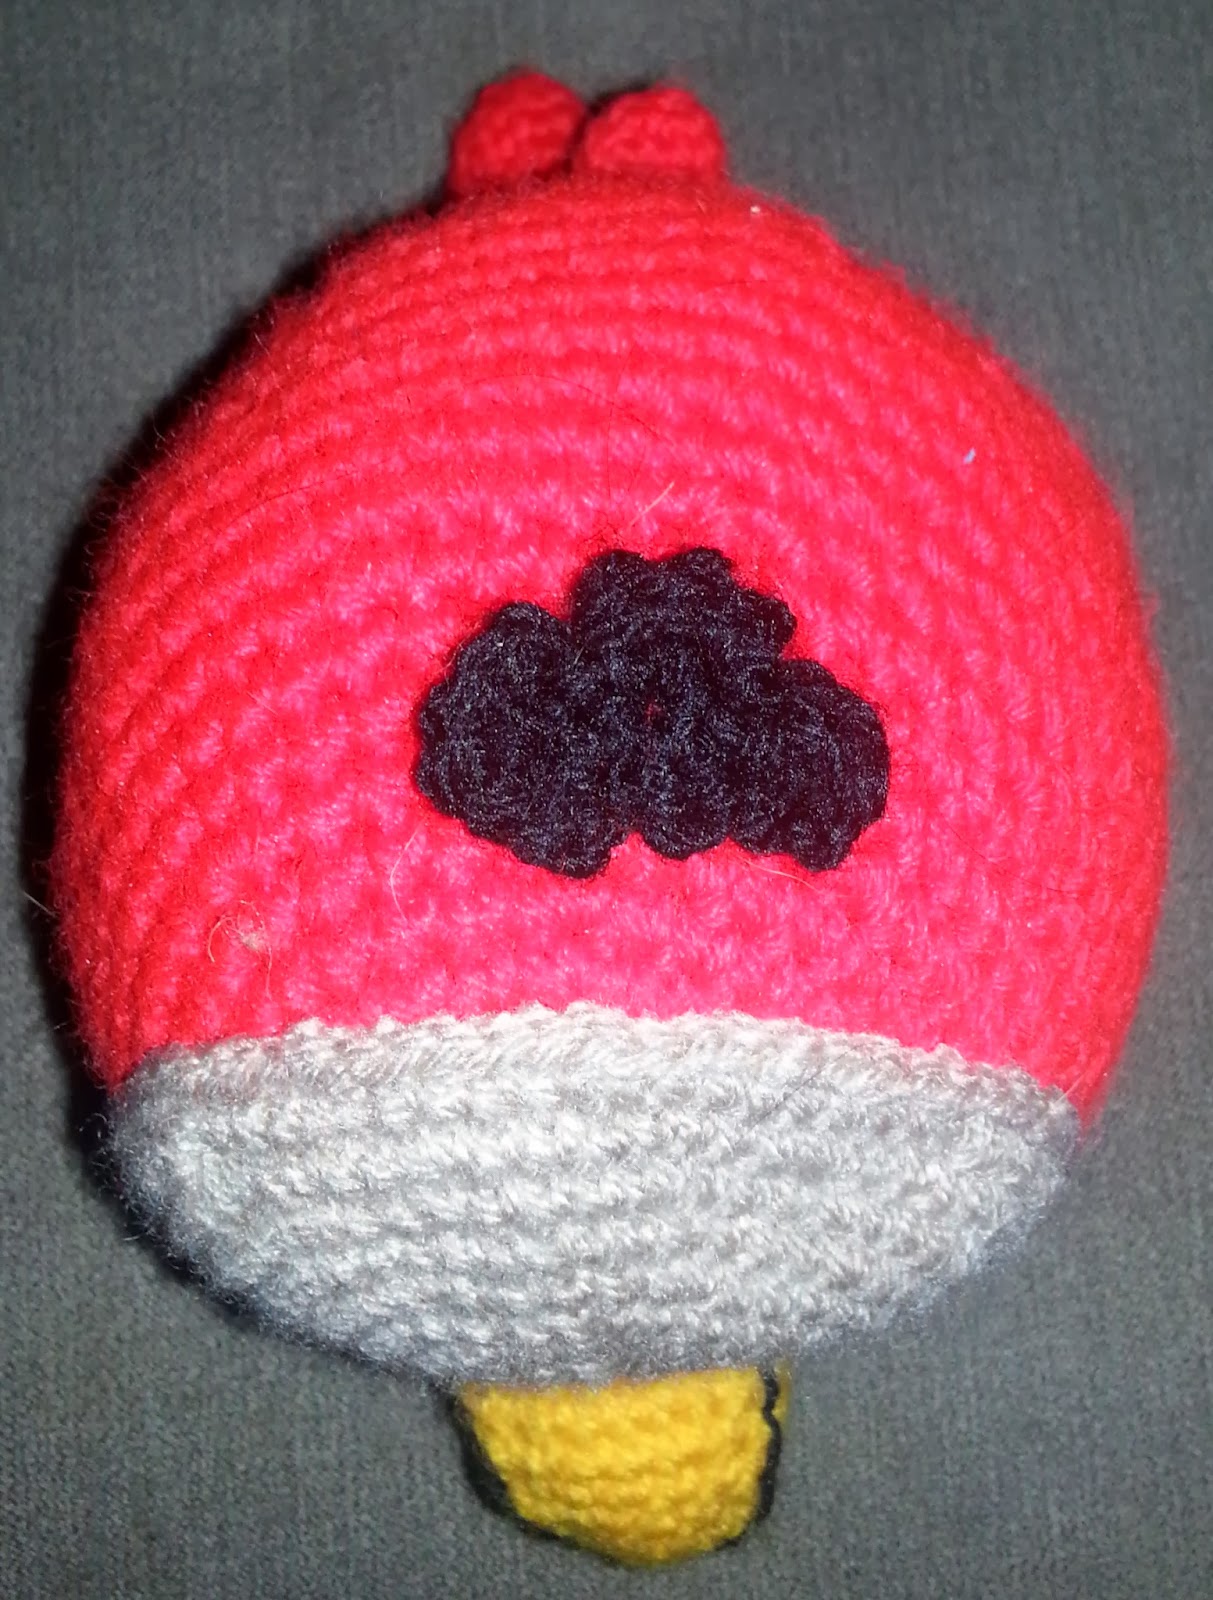
The tail was the finishing touch, and it was news to me that Angry Birds even had tails but that's another story. Don't laugh, but the tail is actually a shamrock, I just used black yarn and sort of smushed it about until I liked how it looked.
And that's it! One Angry Bird! My son loves it and has a great time throwing it around the living room while yelling 'angeee birds!'. Thank god it's not made out of anything harder than yarn!!!
Sphere Pattern from: Ms Premise Conclusion
Stuffing from: Springwools
Safety Eyes from: Springwools
Yarns and hooks from my own stash.